To Everything, Turn…Turn…Turn

Alan's Turning Log – Adventures in Wood Turning

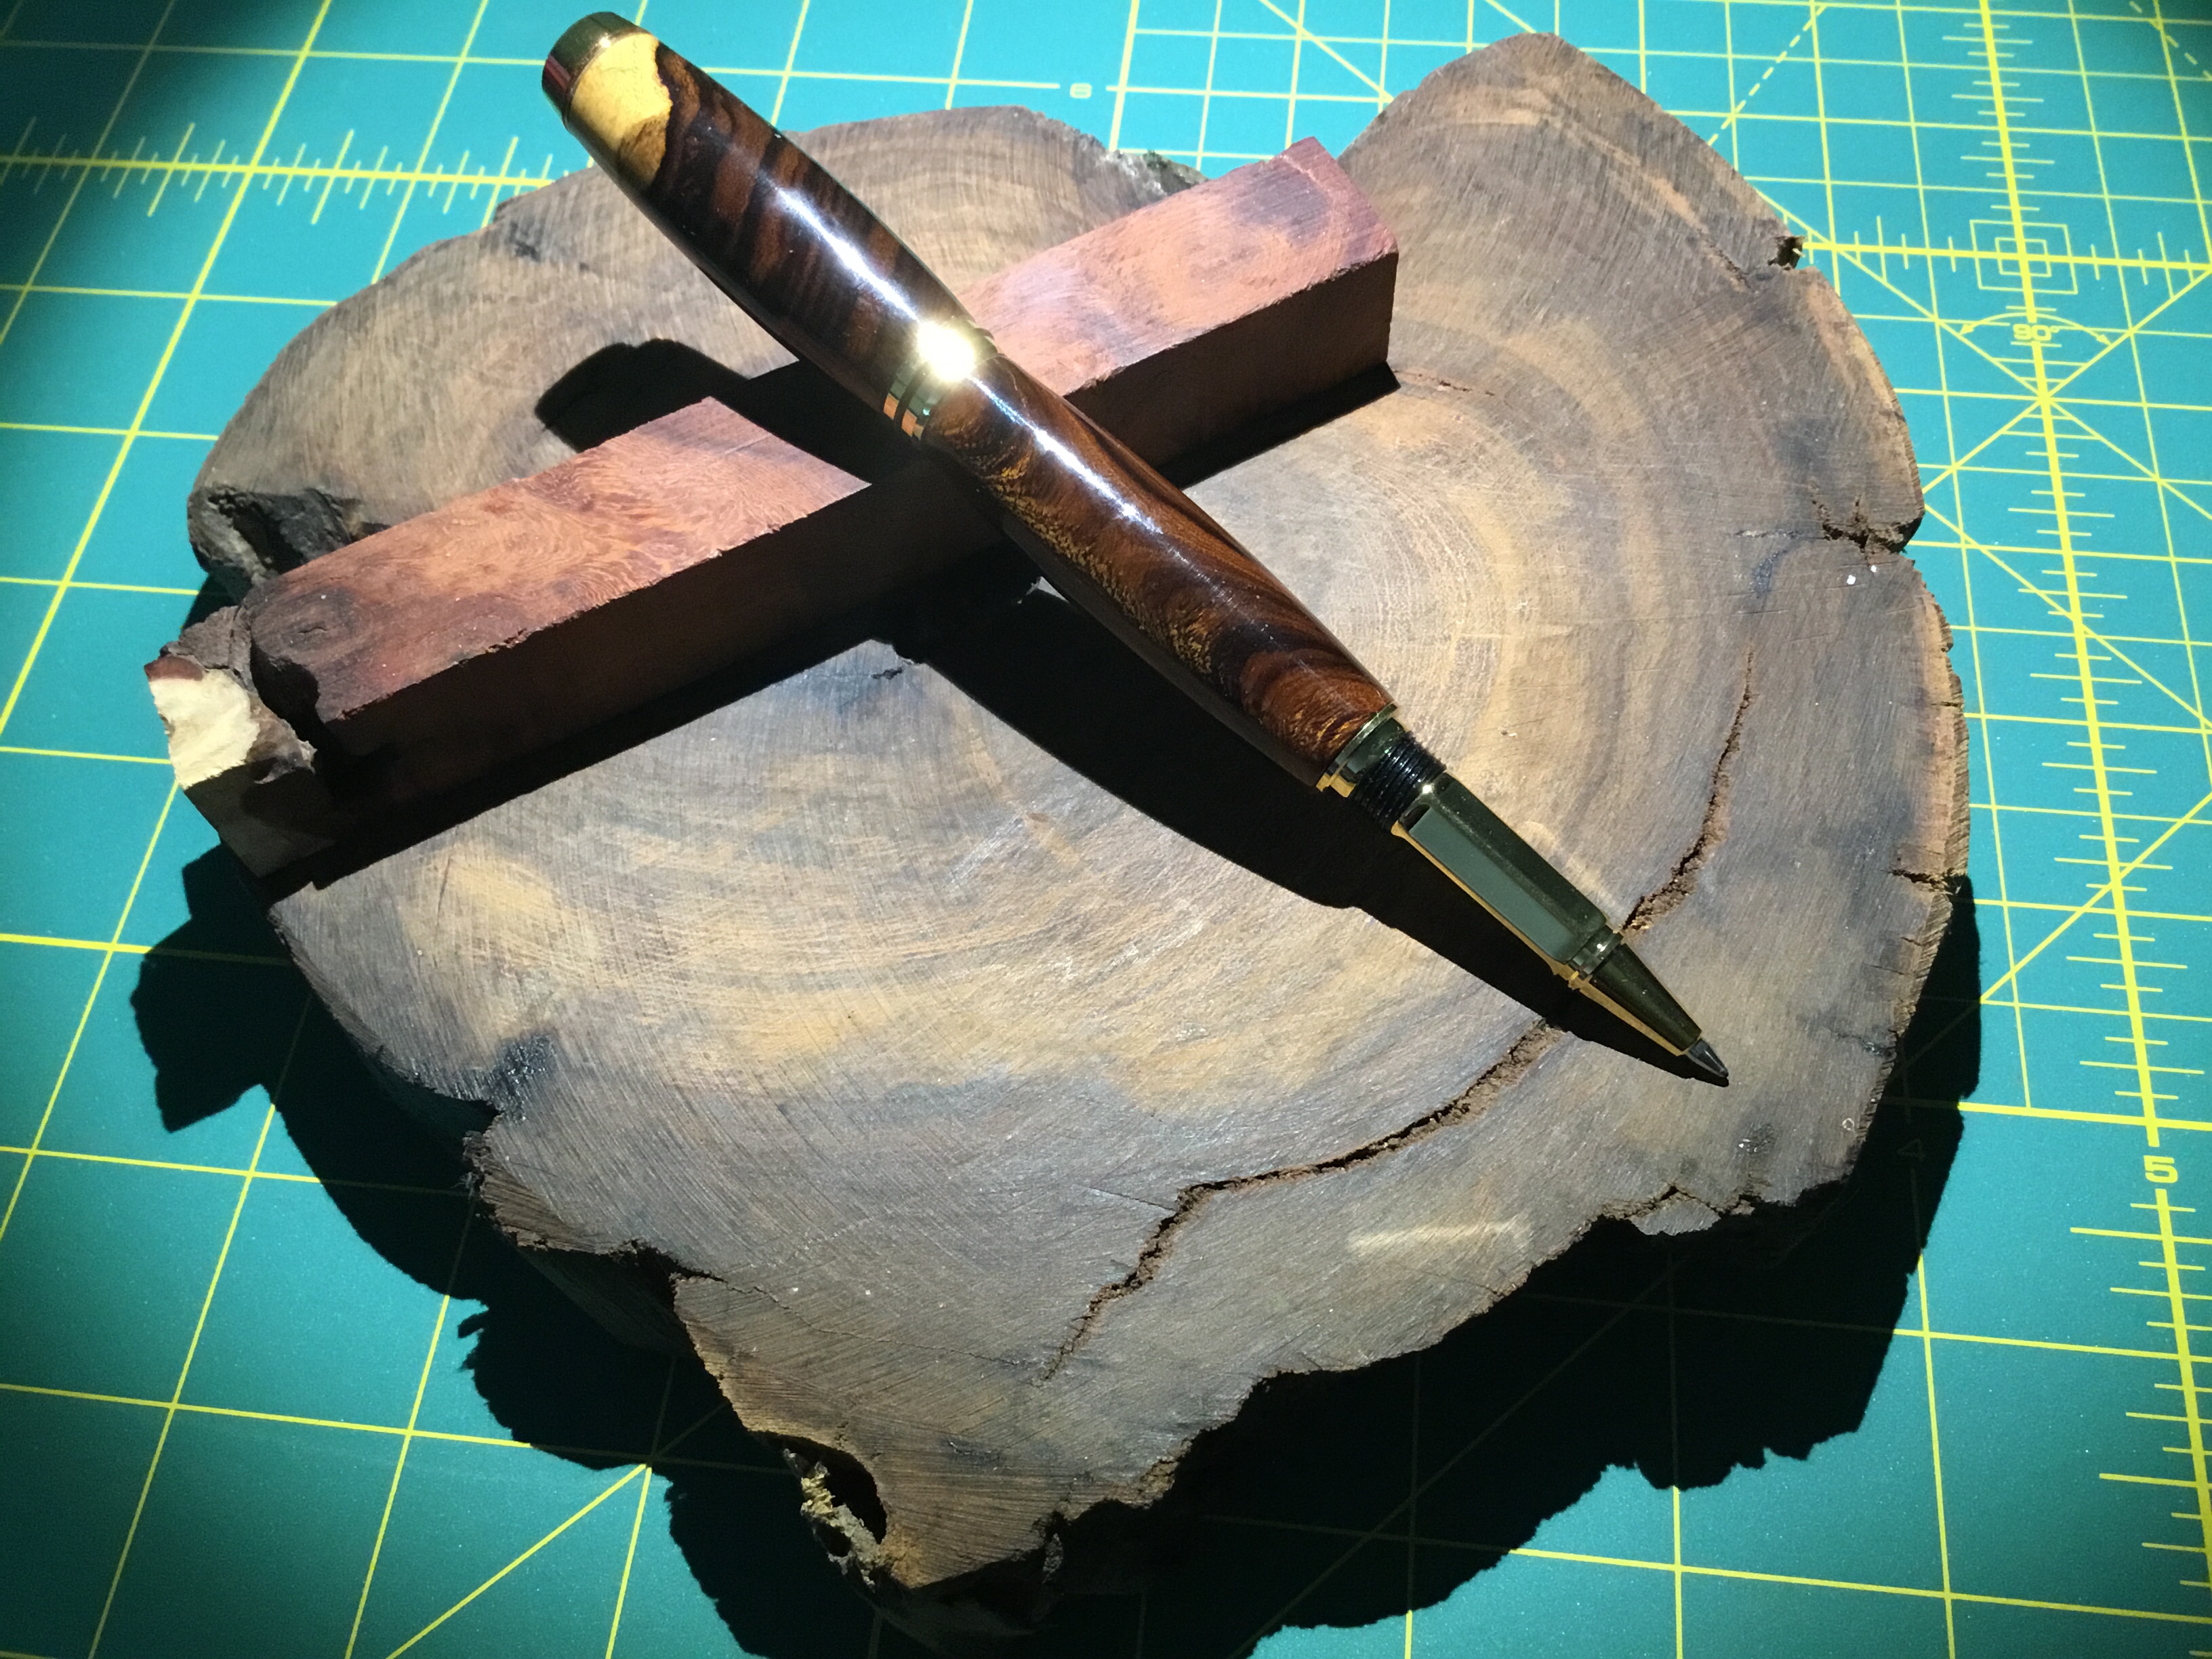
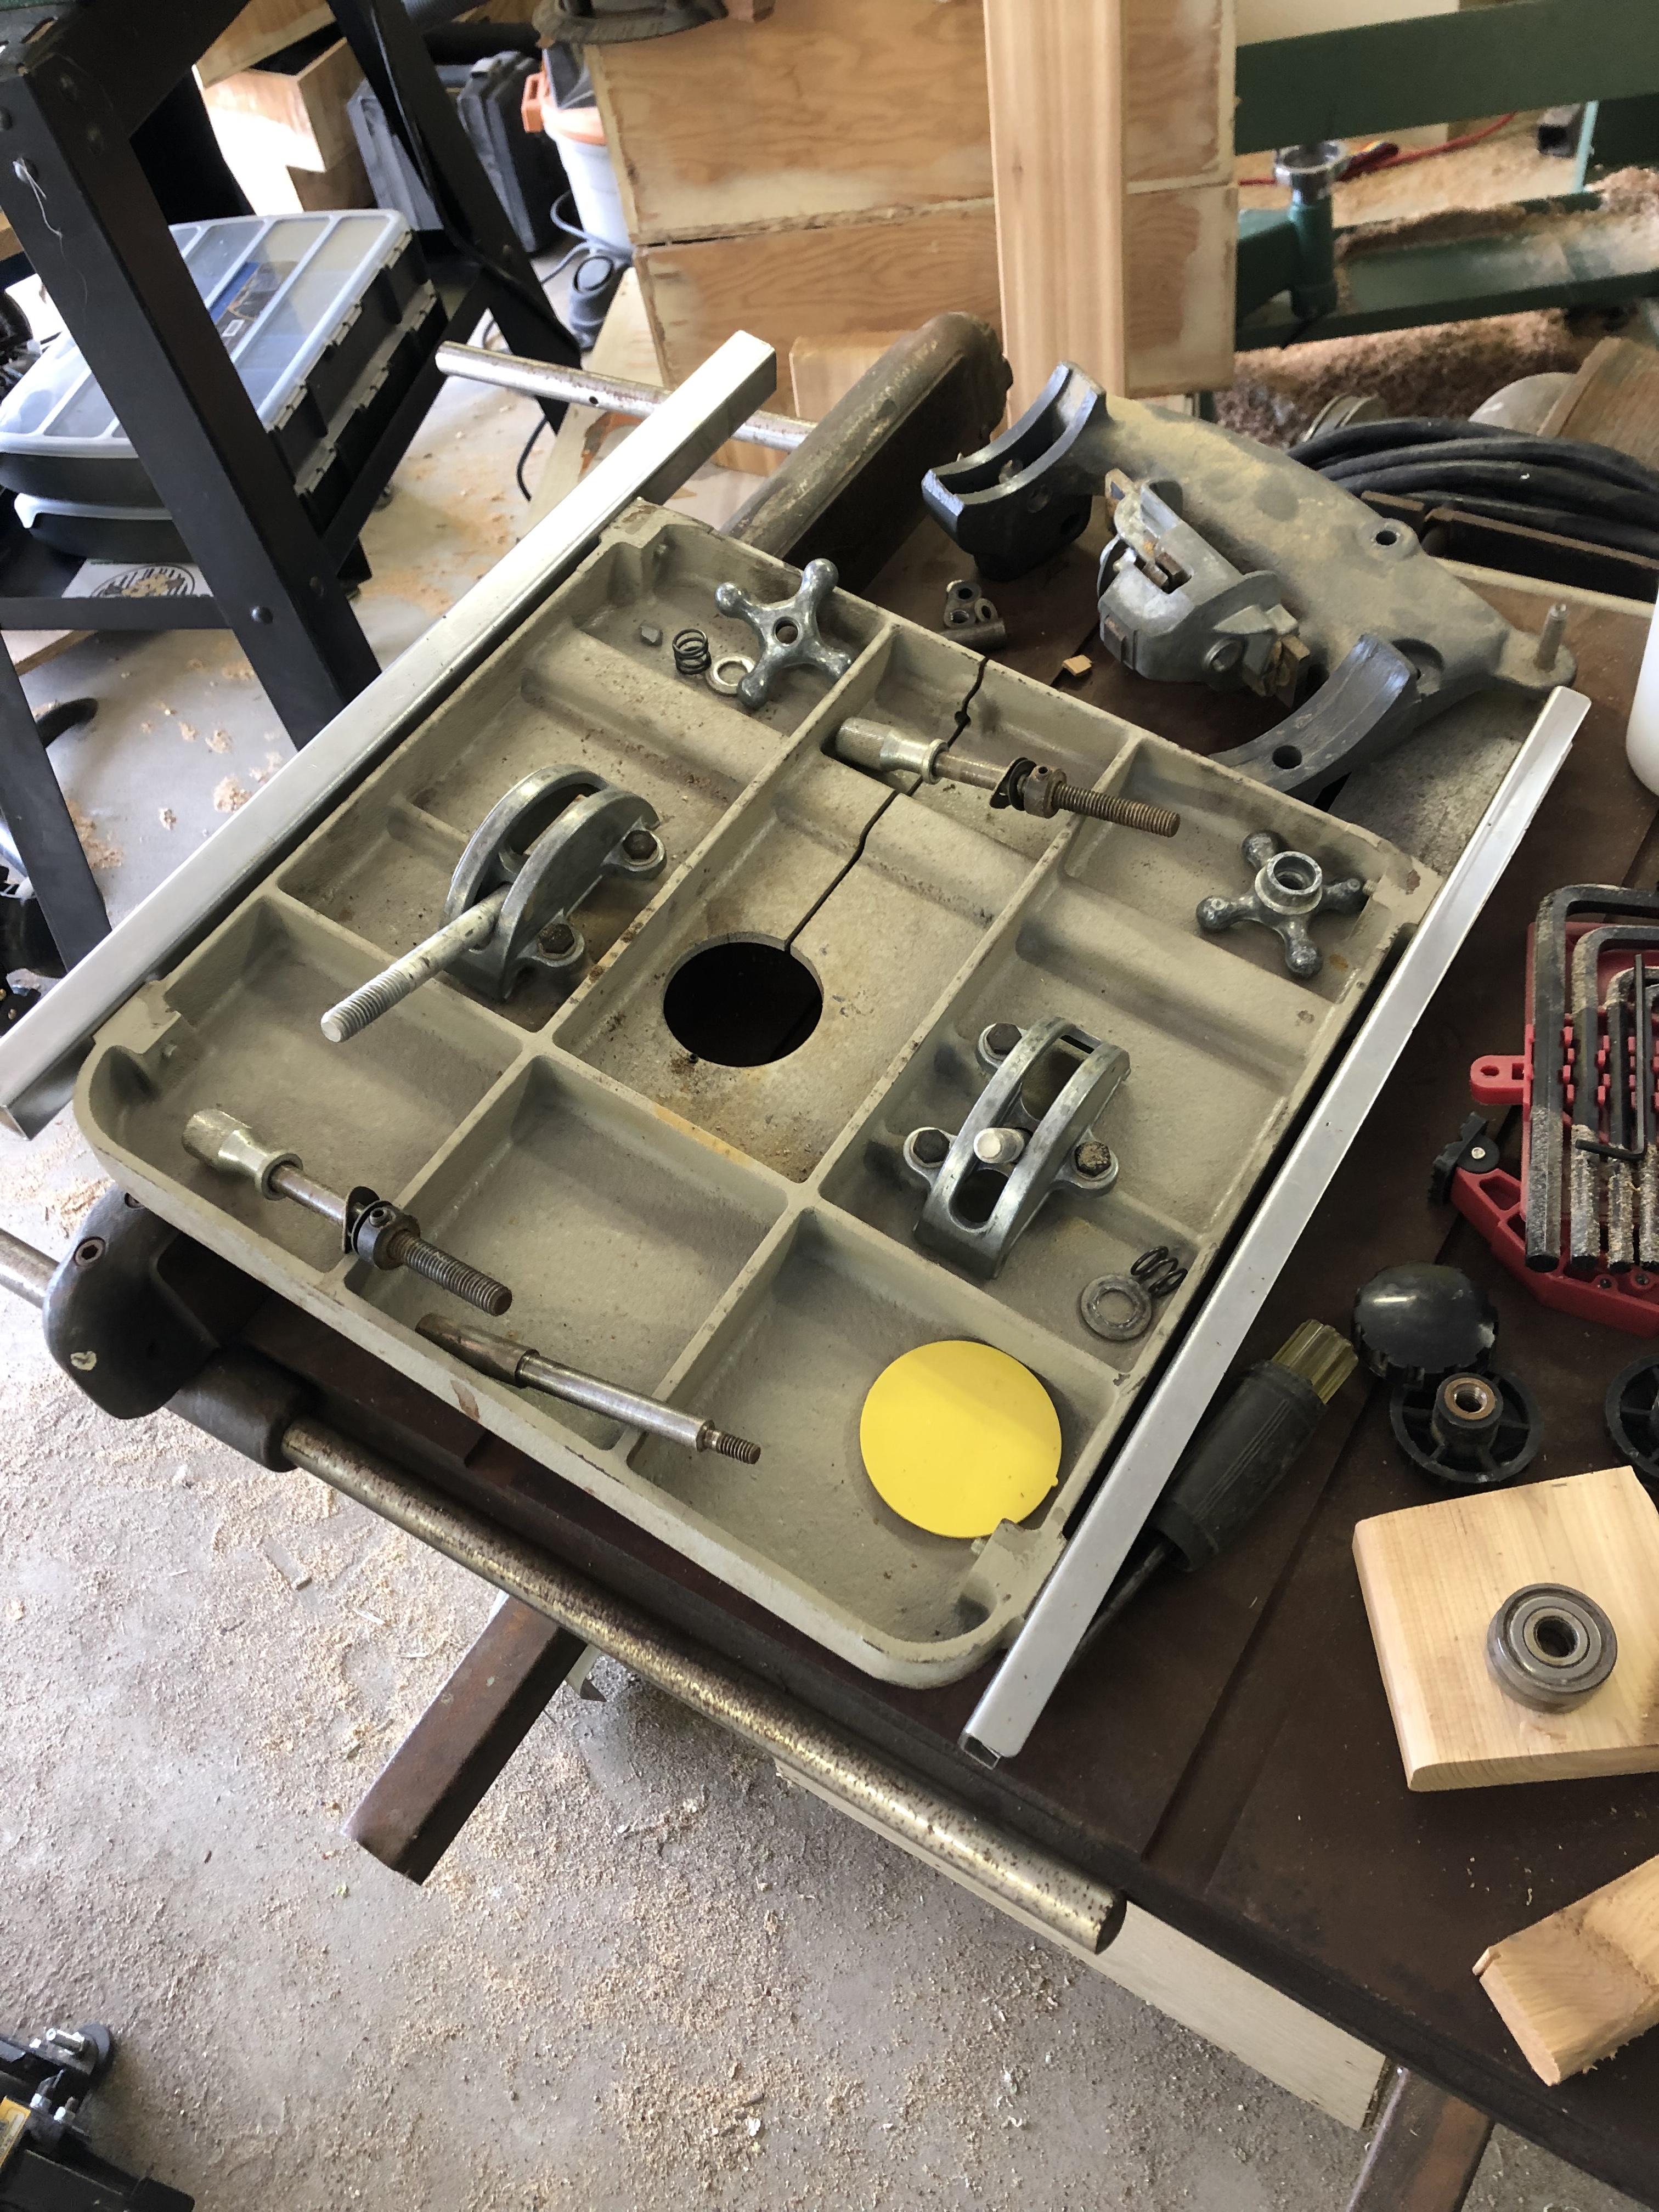
  • I have always been amazed at the irony of everything that I have to do in order to play with wood.  The last few days have been spent trying to get my Tablesaw going after the three year hiatus.  It has turned into a bit of a chicken and egg matter.  I don’t have have a workbench yet in my new shop, which means I don’t have much in the way of worktops.  I have my little Black and Decker Workmate set up, but my tablesaw has become a work surface and catch-all while I do some turning.  Last week was the week for a tune-up of my bandsaw.  I pulled the table off, cleaned it, replaced the tires and guide bearings and put a new blade and link belt on it.  (Here is a picture of it pulled apart… and I didn’t have any parts left over when it went back together). You will note that the parts are sitting on my Tablesaw.

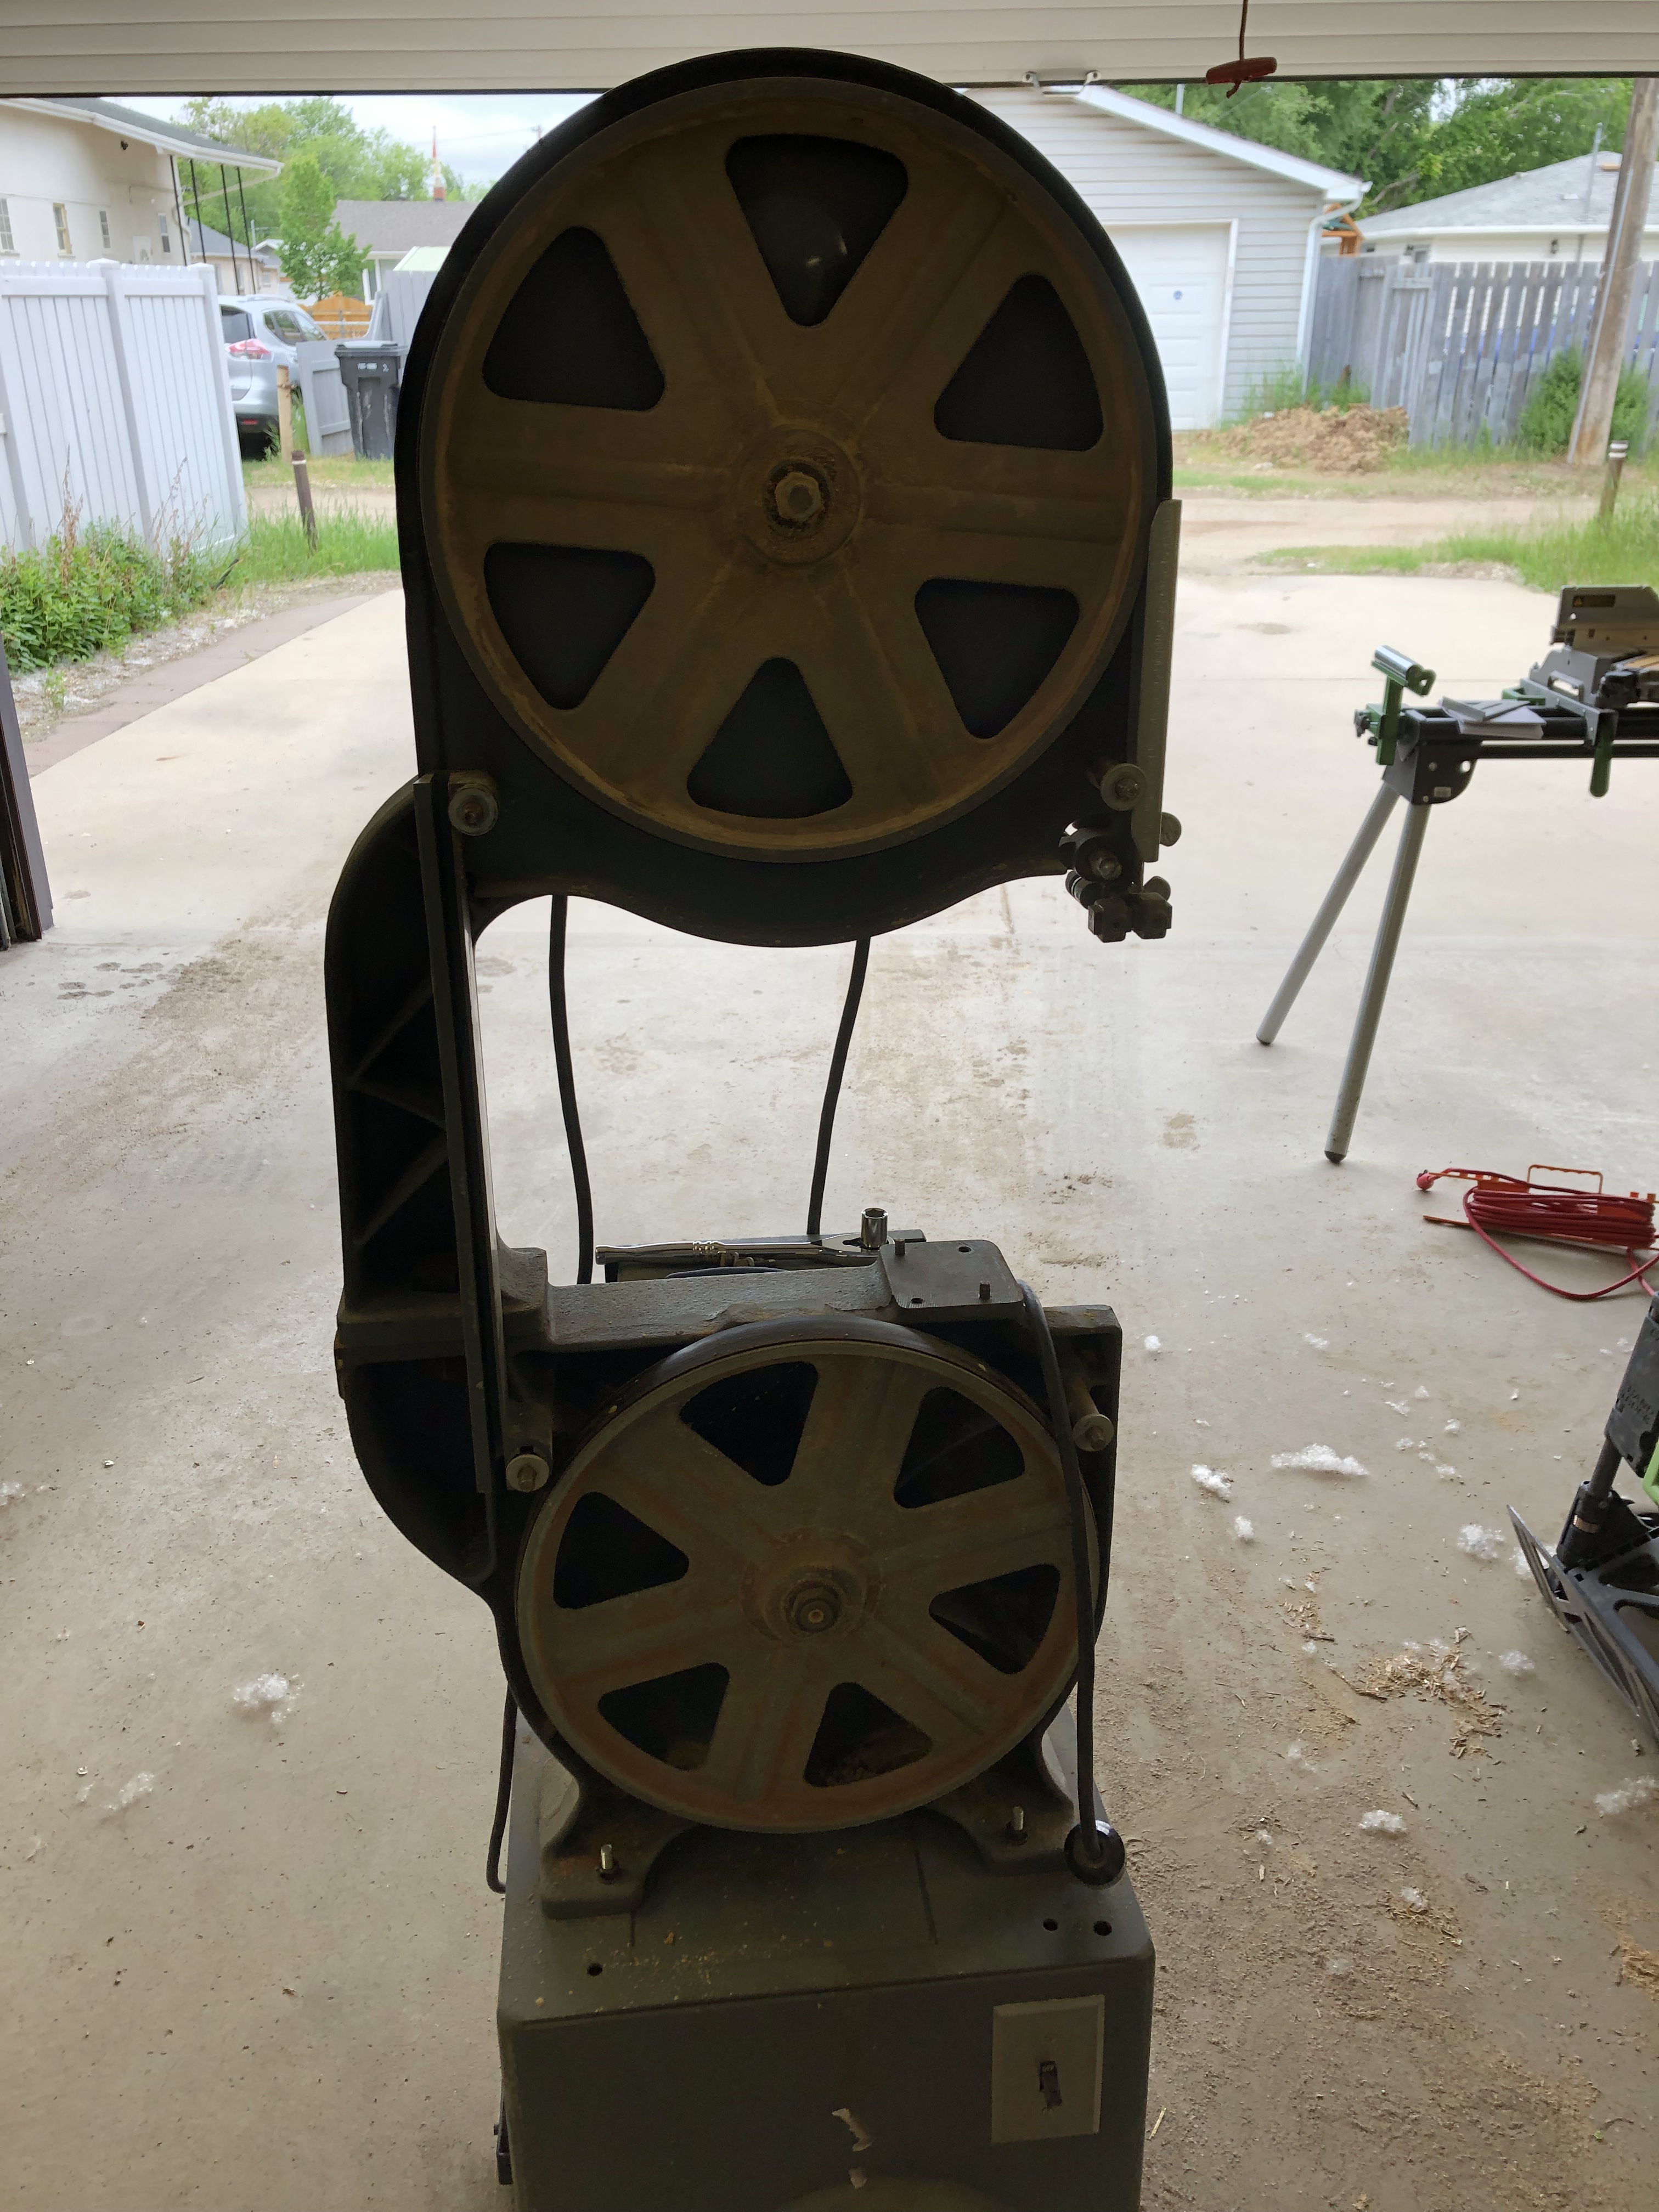
    Now… onto my tablesaw.  I should let you know a little of the history of my saw.  It is a little Beaver 3200 and dates from the mid 1950s. The base and tabletop are made from heavy cast-iron and it is on a tube steel frame that someone made for the saw.  The motor is a Leland Electric 3/4 hp motor that weighs close to 100 lbs, which leads me to this tune-up.  For a few years now I have been struggling to start the saw.  I discovered that there was an arm that needed to be close to a moving ring in order for it to start. I would open up the motor bell housing and push the arm, then startup the motor and make my cut, shutoff the saw, pushed the arm, started the saw… and so on. It has been a bit of a pain. Before I fired it up in my new shop, I thought I would resolve that issue once and for all. Little did I know that it would lead me down a giant rabbit hole.

    The motor is called a Repulsion/Induction motor. As the speed comes up, the centrifugal switch pulls away from the rotor which spins within the stator and effectively short circuits the startup switch. When the saw is turned off and the speed comes down, the centrifugal switch returns to its startup position… in theory. My switch is broken which means that while it can start, there is no “hook” on the switch anymore that wraps around the “necklace” or switch pieces. There were some advantages to this type of motor. Their electrical draw was less while up to speed and R/I motors had more torque. My saw has been in operation for almost 80 years and this is the first thing that has gone wrong. At any rate, I have pulled the motor off the saw and am preparing to install a new motor. It’s only a 1/2 horse so I hope there is enough power in it, but it is substantially smaller.

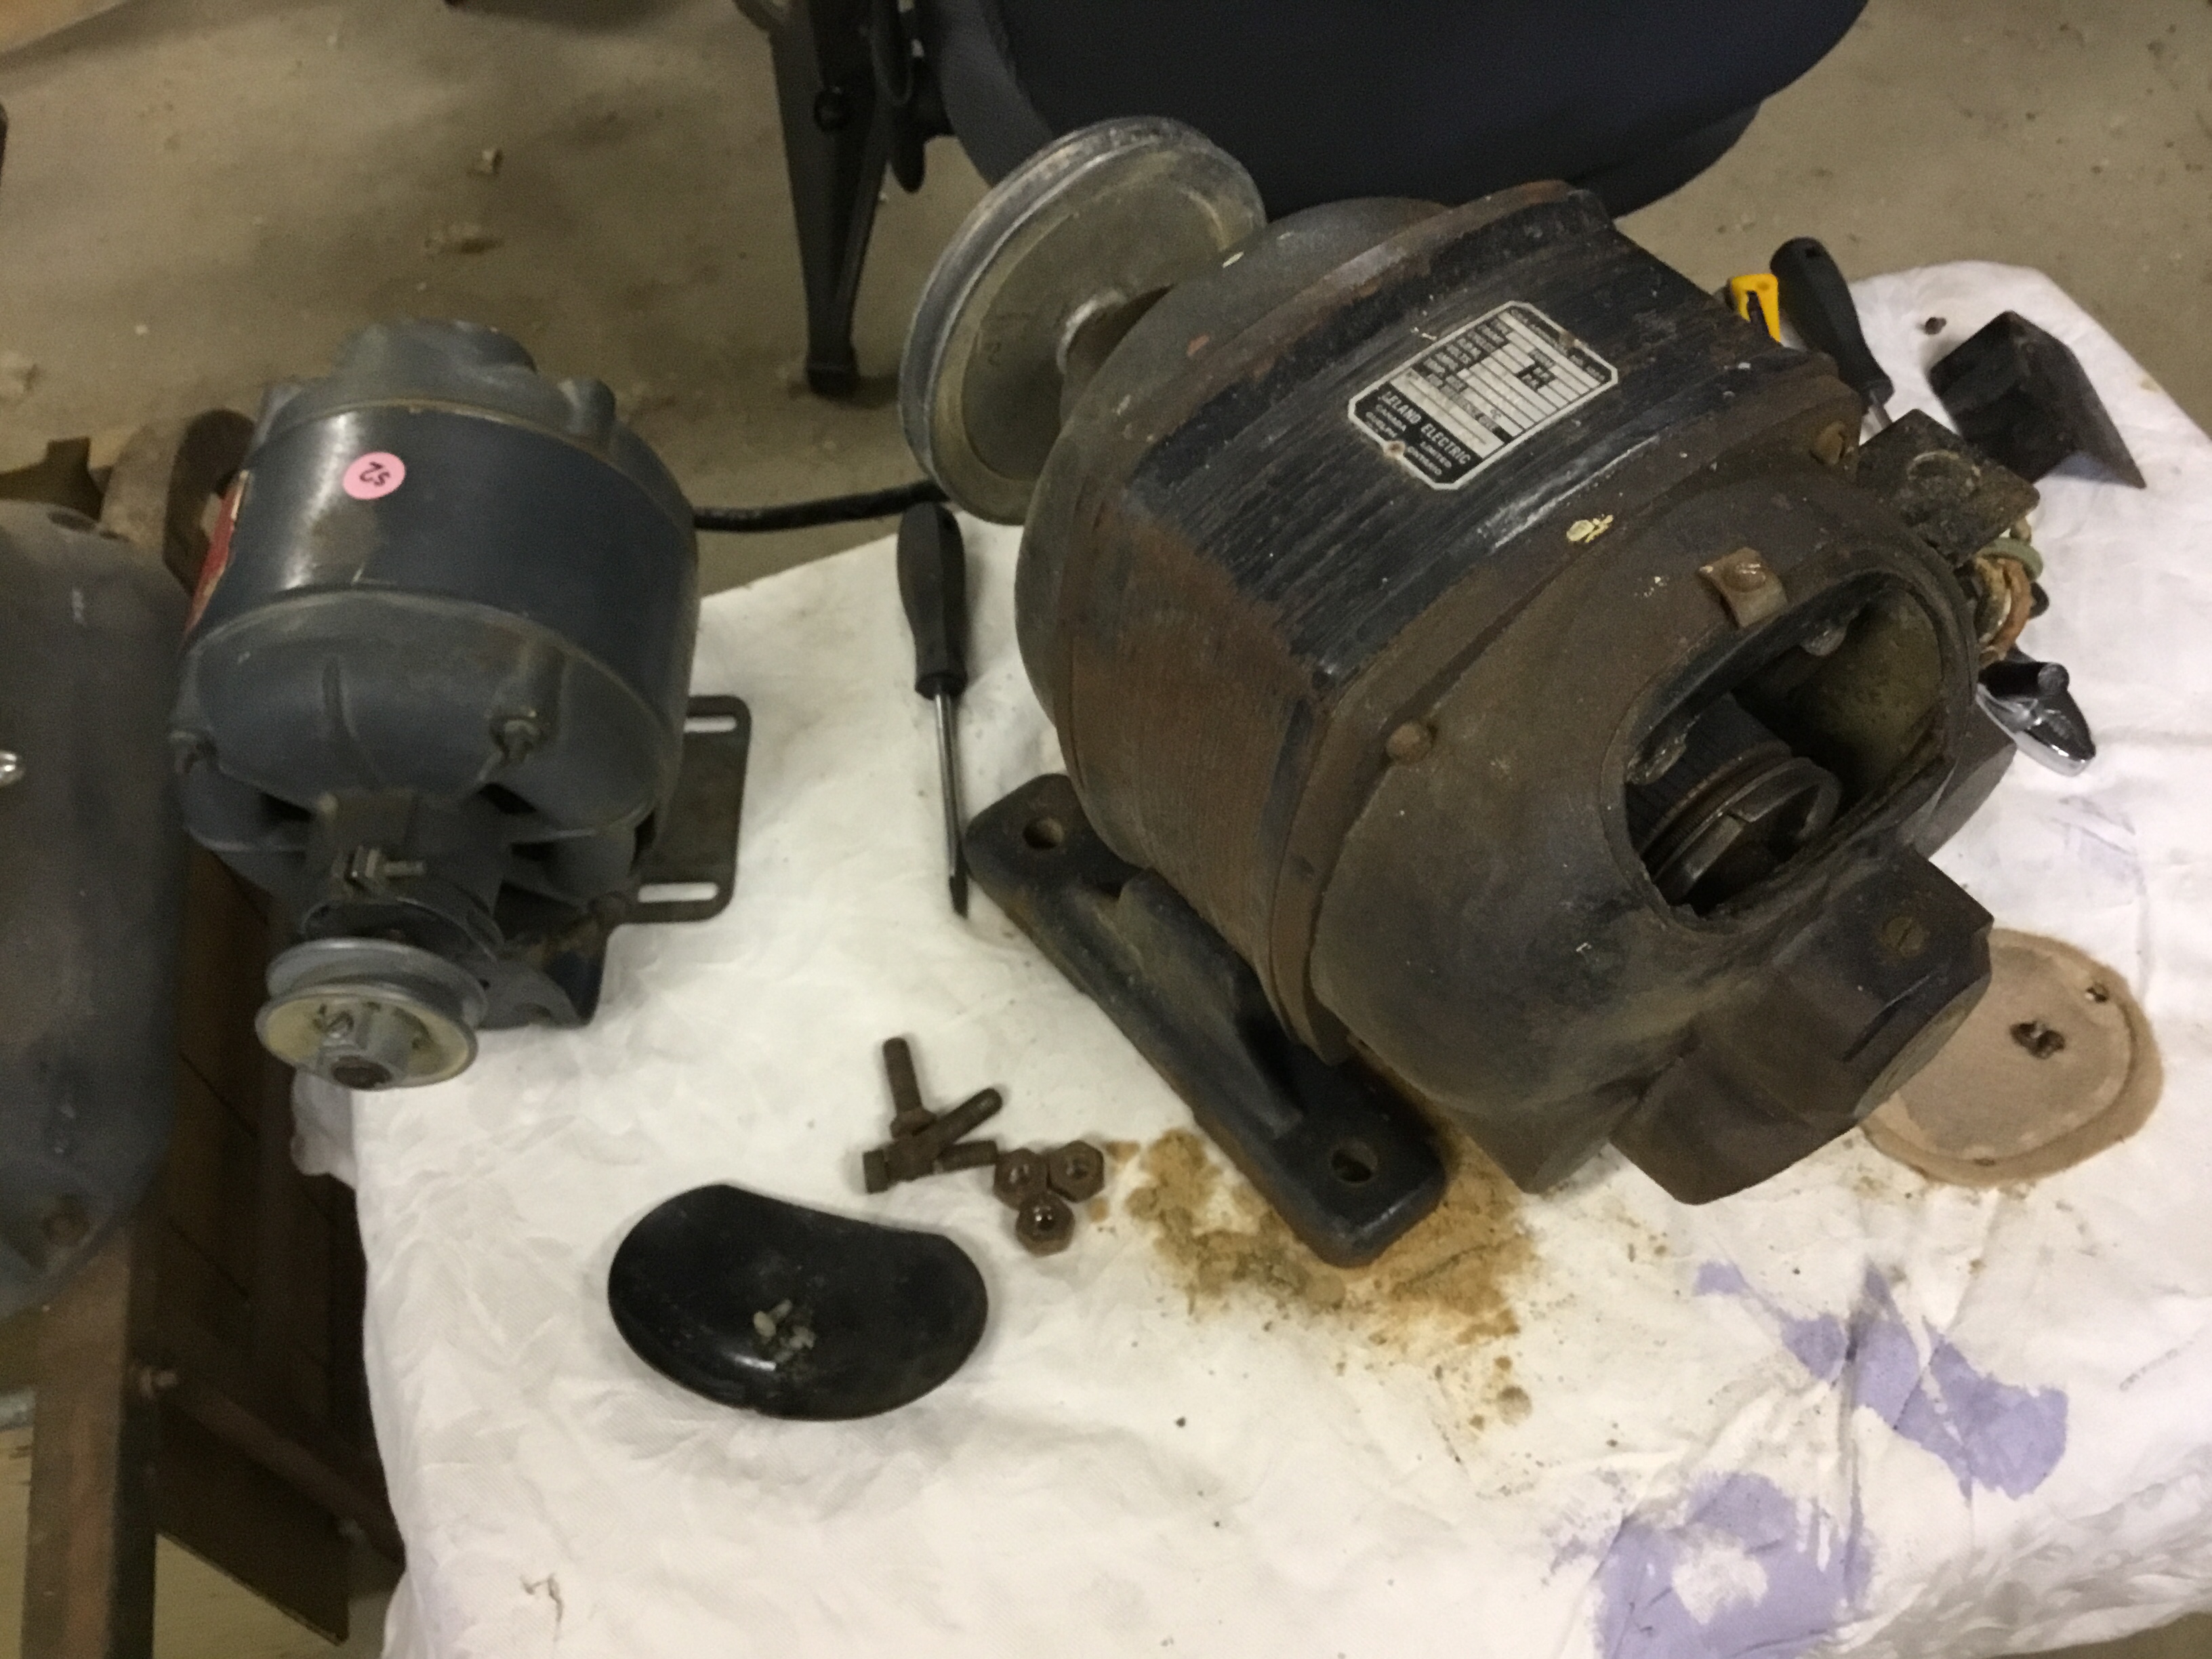
    Not sure if the little one will work, but I have to make some electrical connections and some modifications to the mounting plate, which means drilling through 1/4 inch steel. Nothing happens quickly because I am not exactly setup for metalworking. Ah well… the saw will be worth it.

  • Wow! I am blown away. A colleague of mine gave me some slices of trees that he had in his Quonset. These had been there for several years and he was wondering if I could use them. They happened to be about an inch thick, so they were perfect for pen blanks. I cut one up and started making a Baron Rollerball for my colleague to thank him for the gift. The wood is called Desert Ironwood (Olneya tesota). It has a Janka Hardness of 3260 lbf. In comparison to African Ebony or Gaboon Ebony, which till now has been the hardest wood that I have turned, it is slightly less at 3080 lbf. This particular ironwood came from the southwestern United States.

    Now, I have learned to always wear a respirator when turning wood, especially an unfamiliar one. It was a good instinct, because Of the smell of the wood and because I had a mild contact allergy to the wood. The wood smells like burning tobacco which I don’t care for. In addition, my arms broke out in hives for a couple of days. This was a small price to pay though for the extraordinarily beautiful product. Even with my roughing gouge, the pen almost didn’t need sanding, although I did sand it. I had to use CA for this pen because a very fine crack exposed itself in the pen cap and I wanted to be sure it wouldn’t break during normal use. I think I will do more and hopefully leave one unfinished. Sanded only to 600 leaves a lovely satin finish that is lovely to touch.

    Turning a wood this hard was a challenge. In just this single pen, I had to sharpen my gouges once in the middle of the turn. That is rarely required in a pen because it is such a small project. Sharpening is important though with this wood.

    When I did the CA finish, the bushings got glued to the blank. This is very common, and so I had developed a technique of taking my parting tool and carefully cutting the join between the bushing and the blank. I must be out of practice though because when I tapped the bushing off, a big chunk of the CA finish on both top and bottom broke off. So, I finally broke down and bought some UHMW Plastic Rod to make some finishing bushings. UHMW stands for Ultra High Molecular Weight plastic and it doesn’t stick to CA. The other option is HDPE which stands for High Density Polyethylene. According to the plastic supplier where I got my UHMW, they are the same thing, but it appears that according to the google, they are a bit different. At any rate, I had to take down the first CA finish from my pen and then redo it with the plastic bushings. They worked better, but I will play with shape in the future (more about the drawbacks of plastic in future posts).

    This morning I got the pen finished and assembled. I couldn’t be happier with how it turned out. The light coloured wood in the cap is sapwood. I am looking forward to making more pens with this wonderful gift. The pictures are of the finished pen. The slice of wood is one of the pieces of Ironwood.

  • I posted in January of 2016 that I was going to start posting some of the past items… and I didn’t. Since that post, I have moved to a new position and a new province and city. Initially, I had to rent an apartment when I moved and didn’t have any way to keep up with my woodworking. My brother graciously cleared out a corner of his shop to store my tools while I was figuring out my living situation. In March of 2019, I was finally able to move into my new home. A great place that has given me a new and unique experience… a house with a huge attached garage. It’s neat to be able to simply open your back door and step into your shop. I have picked up all of my tools from my brother’s place and now have to work out where everything is going to live. I have some power challenges ahead of me as there are only three outlets in the garage. I also only have 15 amps to the garage, but I suppose for now, that isn’t a problem. I can only use one tool at a time and so far, 15 amps have been enough. I will figure that out in the months ahead, but right now I have worked on a couple of projects despite my tools being where they landed in the garage. The video shows what a disaster it is right now.

    The second video shows the project that I had to do, despite my shop not being ready. A very nice click pen called a Slim Max in a Chameleon finish with a “Dalmatian” resin pen blank.

  • Well… haven’t I been neglectful of this blog for the last year?  I was showing something to my brother last week and realized that I haven’t posted anything to my blog in 2015… AT ALL.

    This doesn’t mean that I haven’t done any woodworking, but I have to admit that it has been a slow year in that regard.  I will work in the next day or so to try to catch up with my projects of 2015.


  • I haven’t done a lot of “commercial” sales of pens and pencils yet, but my work has been noticed by a growing number of people through word-of-mouth.  I have been thinking about just how much I would like to do in the “business” of penturning, or wood turning in general, and I have honestly decidied that I have no desire to make this a commercially successful enterprise.  I faced a similar issue with my stained glass a few years ago.  While I thought (and think) that I have the talent to make money at these crafts, I just don’t know if I will still feel that way after making a production order of 50 of the same pen with a deadline looming.

    At any rate, I did recieve an order for a slimline pen and pencil set from Kate and Christopher in the parish and am glad to do it.

    These slimline kits came from William Wood-Write in Ontario and are somewhat different than the Slimlines that are sold at Lee-Valley.  But a rose by any other name…

    The slimline is the basic woodturners’ pen kit but perhaps the most difficult in terms of tolerances and the potential for mishap.  The 7mm tube and the bushings leave less that 1/32 an inch of wood at the kit connections.  To make a really smooth transition is difficult.

    These slimlines turned out rather well though.  After exploding a blank on my Compound Mitre Saw last week, and an emergency order for new blanks from Ontario, these kits were completed uneventfully.  They are in Tulipwood with a Purpleheart knot inlay.  People have been calling this design a “celtic” knot, but to me it looks more like a turk’s head knot that I make in decorative nautical ropework.  Either way, I used 1/8 inch stock for the inlay, but had to sand it down because my saw kerf is not quite 1/8.  The trick in getting the “rope” to line up is to not cut through the blank entirely on each cut and then slide the inlay into the kerf groove.

    As the wall thickness is turned down, the knot appears.  The larger you can leave this, the bigger the gaps between the ropes.  With the slimline though, because I had to turn the pen down quite finely, the ropes tended to merge with the others.  Normally with the slimline, I would like to have a less bulbous bottom of the pen, but was hesitant to turn any more off for fear the know would just turn into a blob.

    Finished with CA, these pens turned out well.

    IMG_20141217_111543

    IMG_20141217_111609

    Finally, I published a video to YouTube as well.

  • A few months ago, I turned a flag holder pin for a Bagpipe Drone for my boss.  I had taken a picture or two of the painted and mounted pin so thought it was time to post it to the blog.  The original article can be viewed here.

    IMG_0483

    IMG_0484


  • Wow, I have been looking at these pens and blanks for  some time now.  They are a new style that my favourite supplier William Wood-Write in Ontario brings in from the US.  One is called the Victorian Style pen and the other is the Celtic pen.  The hardware for these pens are really beautiful and make for a very elegant pen.  These are twist pens with ballpoint pen refills.

    image

    The blanks are a new (to me) material called Trustone.  I believe that stone (in this case turquoise) is ground up and then mixed with acrylic or latex resin.  Because they are actually stone, they are quite heavy, but they polish up with the wet micromesh really wonderfully.  I can’t really decide which one I like better.  The victorian pen is quite heavy, but the celtic pen is a bit “thick”.  They both fit my hand well and so I don’t think they are too bad.  I prefer the proportion of the victorian and so I think it has a slight edge on the celtic.  I love the quality of the casting on both of these kits.  You can also get a Celtic Cross as an optional clip for the celtic pen.  Here are a couple of closer looks at the hardware.

    image

    The celtic has a green cabuchon in the end of the twist mechanism.  Makes for a nice touch.

    image

    A lot of careful thought went into the design of this pen kit.

    I had a bit of trouble with both of the pen twist mechanisms.  The victorian wouldn’t retract without manually pushing the nib in with your finger, but as I worked it, it has started to work for the most part.  The victorian twist mechanism wouldn’t work at all originally, but I muscled it a bit.  The refill nib doesn’t come out very far in the celtic.  Certainly not as far as I would like.  This would be corrected by making the barrel a smidge shorter but would take a bit of a trial and error.  With the price of the kits, I can’t really afford to muck around this way.  I will be sending feedback to Bill.  Don’t think he can do anything about it but it is worth letting him know of my difficulties.

    What do you all think?  Which one is your favourite?

  • My boss was presented a Pipe Banner at the Training Centre he commanded and he has had it hanging on a dowel in a flag holder in his office while he has been going back and forth in the summers.  Now that he has relinquished command, it is ready for a more permanent display.  Last week he asked if I could turn a piece of dowel to fit the Drone.  Naturally I jumped at the chance.  I took the dowel home and turned a smaller tenon on it to fit the drone, but didn’t really like the look of it.  So… on the weekend, I took one of my Ash blanks (that you can buy at Lee Valley for $1) and made a more detailed one.

    It has to be painted, but I will let the boss do that.

  • Well… they are pens.  The video explains why I am not overly pleased with the way these pens turned out.  I like the shape of most of the parts of this kit, but the centre band looks kind of out of place.  Perhaps with the correct bushings and a bit finer turning the bands will look better.  While I am still a fan of the Baron, there are elements here that definitely make the Virage a keeper.

  • Here are the blanks for the Change of Command pens ready for the lathe… at least for the drill.  I have found that if I put the blank on the chuck and then use my jacob’s chuck with a 7mm drill bit in the tail stock, I am able to get the hole drilled directly down the centre of the blank.  This is especially important in a segmented pen.  If the bit were to wander, the design would not be as symmetrical as desired.  Besides centering the hole, drilling a smaller hole also helps prevent heat buildup in the woods as the larger holes are drilled.  Heat, especially on segmented blanks, is an enemy.

    Because the Virage has two different sized barrels, I cannot do all of the drilling on the lathe, so I need to drill the pilot hole, remove the blank from the chuck, cut the barrel lengths to size and then move to the drill press to complete the drilling.  It seems like extraneous steps, but the greater degree of accuracy helps a lot with my satisfaction in the finished pen.